Updated on October 29, 2021
Summer 2021 Refit
Zoe and Ellie left the day after the Fourth of July fireworks show. Now it was time to start some major maintenance work.
Key elements of the refit were:
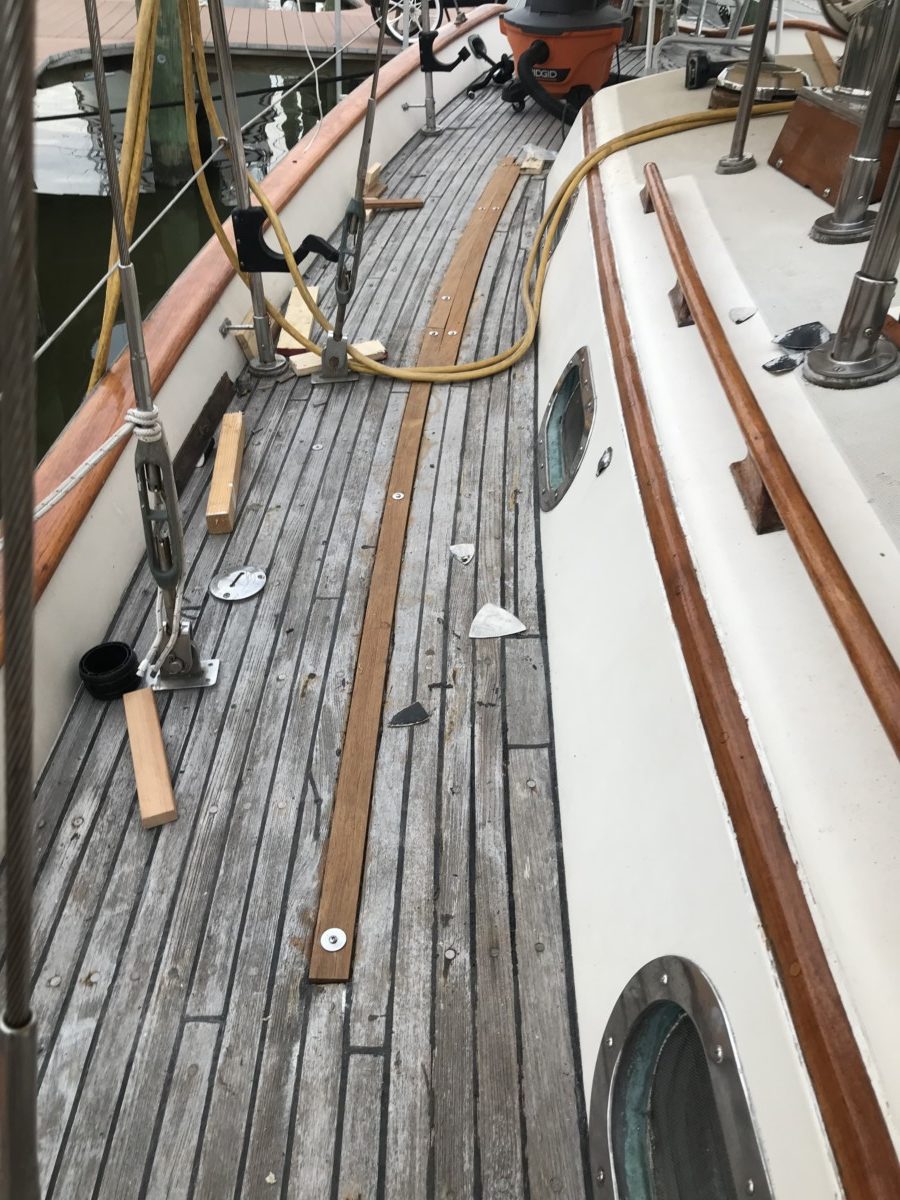
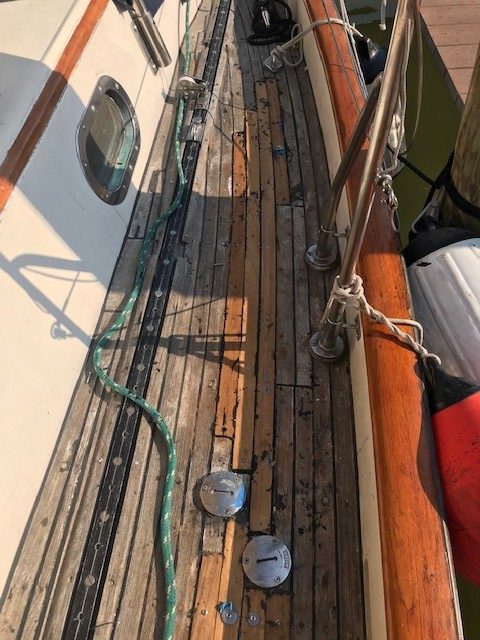
- Replacement of 10 deck planks
- Maintenance of the remainder of the teak deck
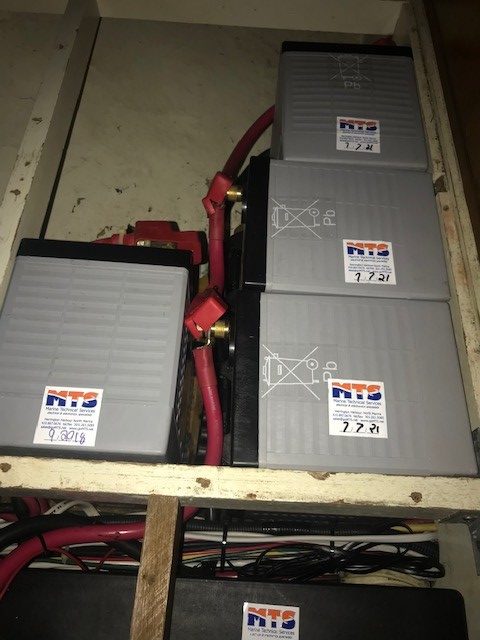
- Replacement of the four “house” batteries which provide electricity underway for lights, electronics, and almost everything on the boat (One 8D and three Group 31XT for 630 amp-hours)
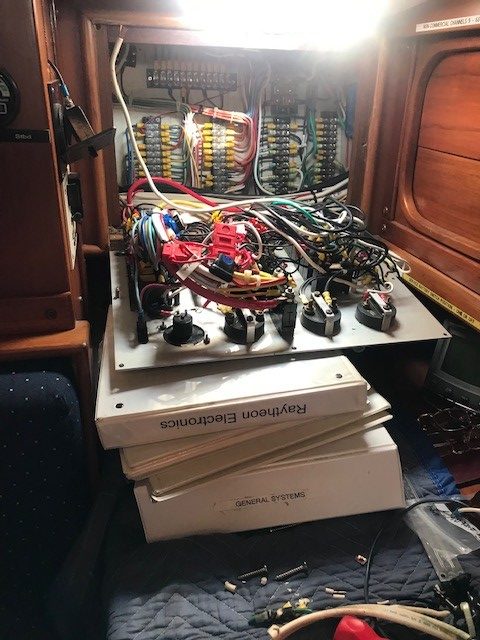
- Several electrical problems that were more of a nuisance than really necessary, including having the charger for the generator to run off of electricity provided by the generator
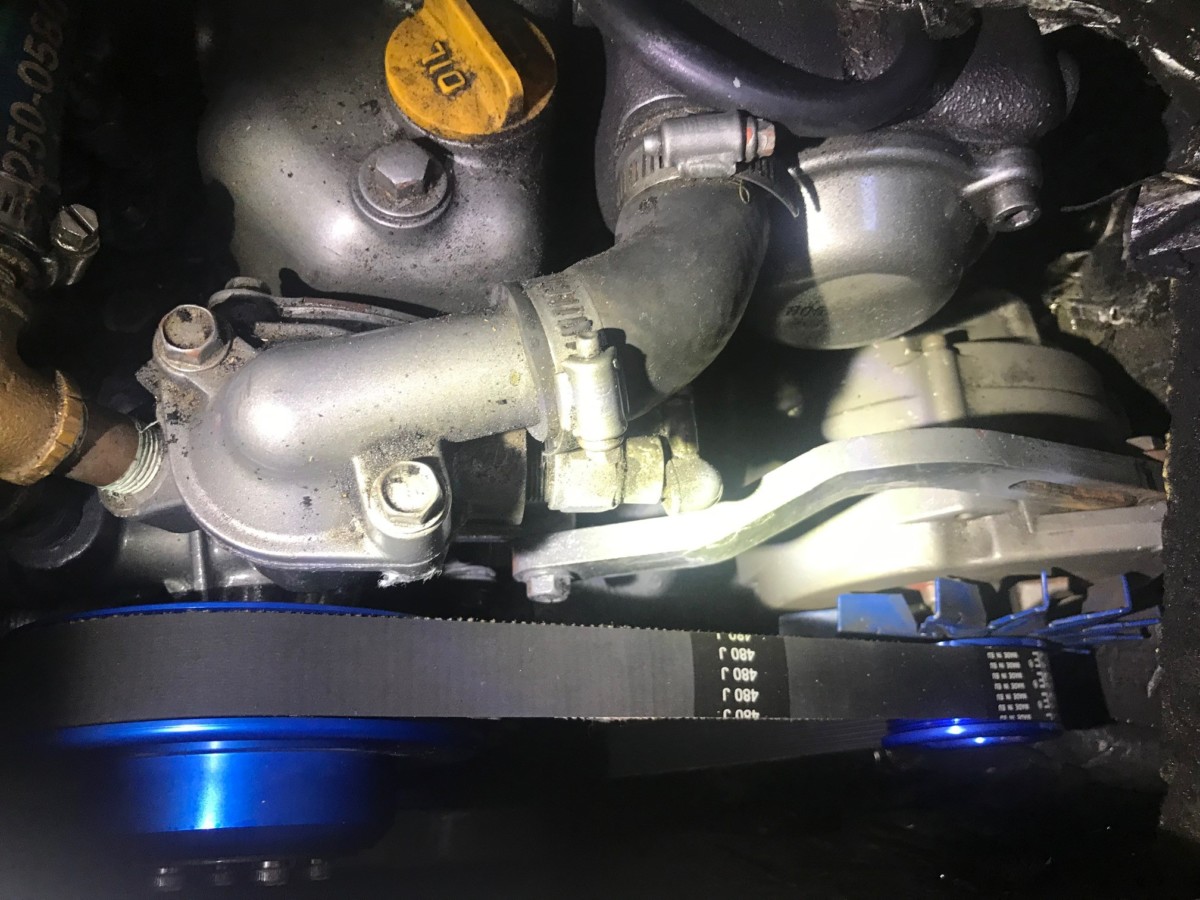
- Replacement of the v-belt drive on the engine to a serpentine belt to prevent future belt failures
- One piece of curved interior trim
- Inspection, cleaning, and repair of the genoa sail
- Additional fittings on lifelines
- Routine maintenance of the generator (oil change, anode replacement, raw water impeller replacement)
- Topside maintenance varnishing
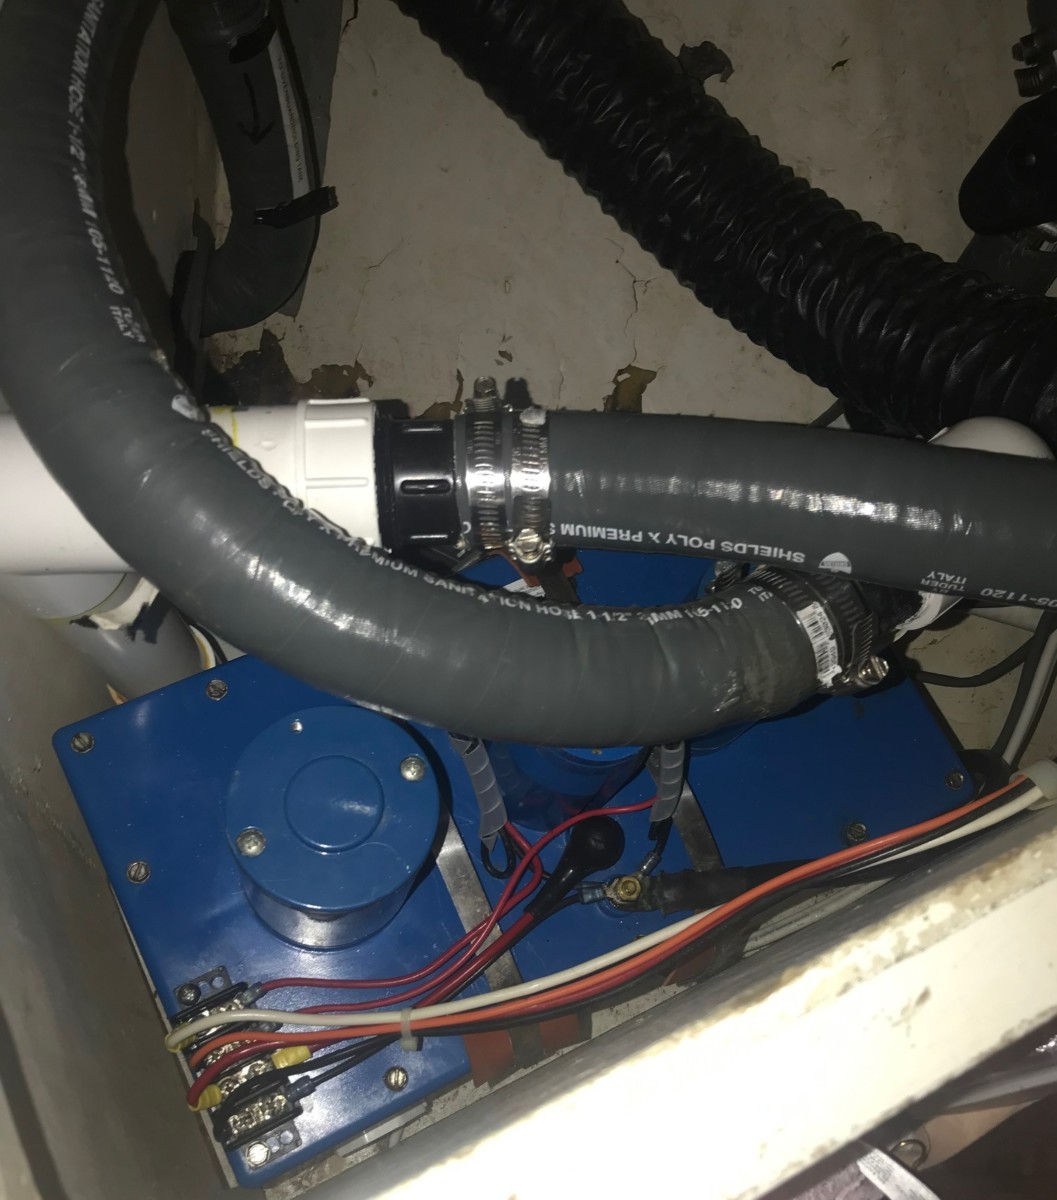
- Replacement of the electrode board on the Electra/San, our onboard sewage treatment system
Additional work that required that the boat be out of the water:
- Repacking to the rudder post which had a slight but irritating leak
- Replacement of the generator seacock (valve) (too hard to open and close)
- Cleaning and waxing of the side of the hull
- Sanding and painting of the bottom with special bottom paint that prevents growth of barnacles and slime
- Varnishing of the cap rail, the rub rail, and the scroll work at the bow and stern
- Refreshing of the varnishing of the bowsprit and the anchor platform
- Painting of the anchor chain markings and the anchor itself
MTS was the first of the contractors that showed up. They were onboard to work on the electrical probems. The technicians quickly found and repaired the shore power problems, replaced the batteries, and were off the boat after a couple of days of work.
Shortly thereafter AR Marine came onboard to replace the V drive belt with a “serpentine” belt, which also meant replacing three pulleys, two on the engine and one on the alternator. Hopefully, this will prevent those nasty belt failures that have been plaguing us for 12 years now.
Elena was not returning from Russia until mid-August. While a lot easier with two of us, I figured I could do the replacement of the deck planks by myself. I also took to the opportunity of her absence to splurge on an expensive bench planer which would make the work on the deck so much easier.
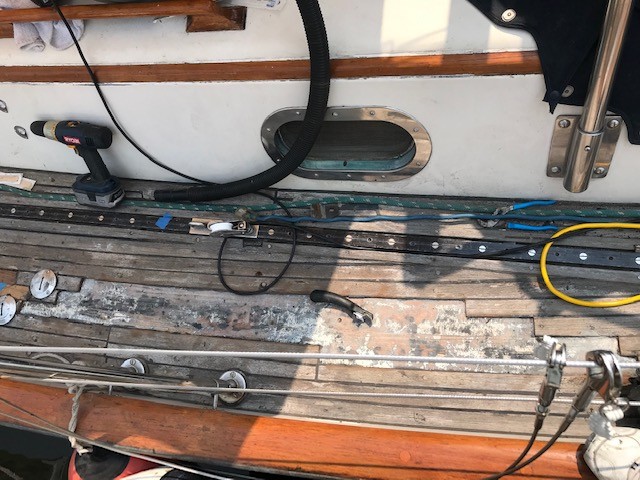
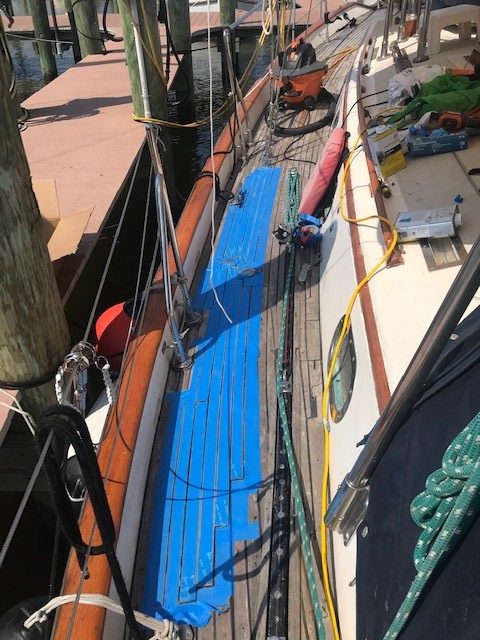
First, I removed the cracked, thin and loose planks and sanded down the area to bare fiberglass.
I trimmed the wood to the correct length, trying to allow for the curve of the wood after installation. I then used that new bench planer to reduce the thickness to closely match the surrounding planks.
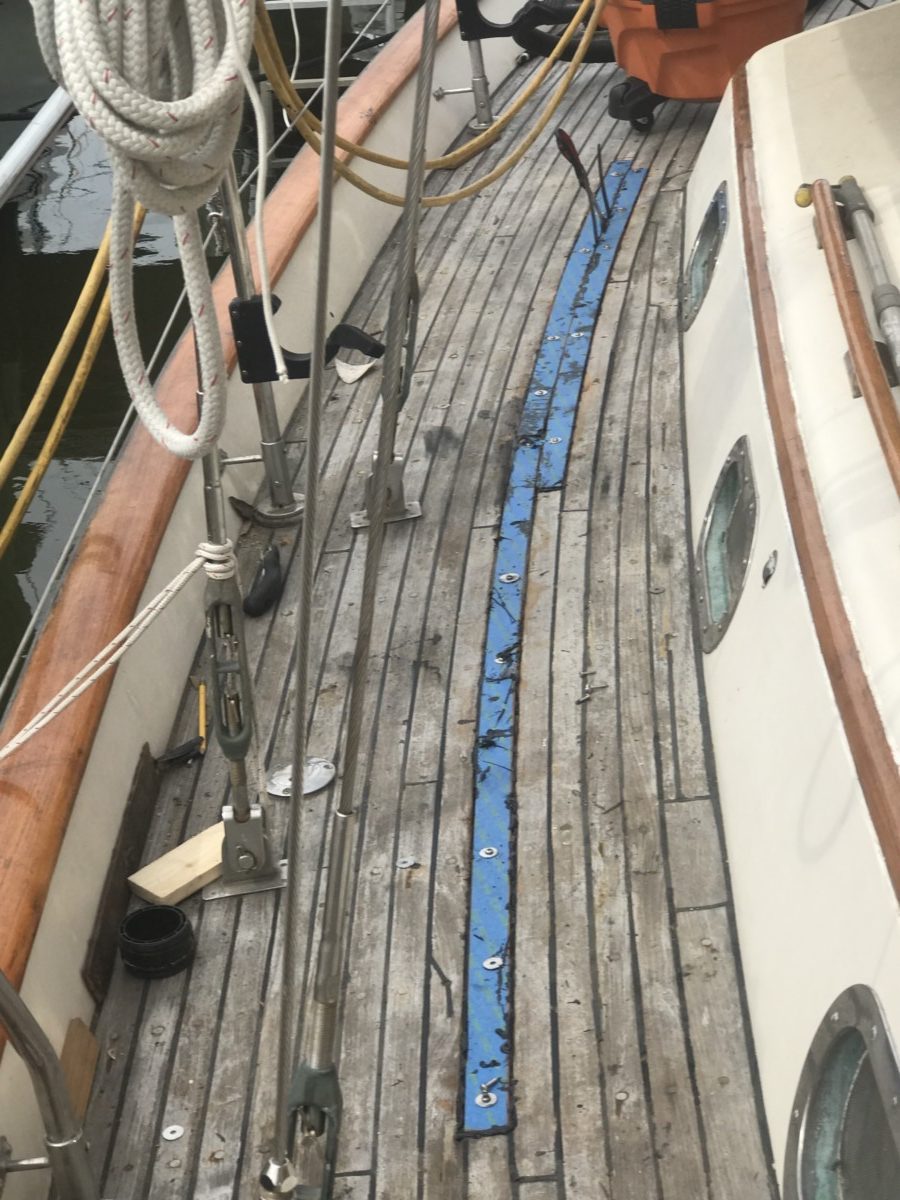
Once I had the planks roughed in, I screwed the planks in place, bending them to match the curve to the deck. The bending process was the most difficult part, especially working alone.
Using blocks cut to the exact length needed, I pushed and prodded the replacement plank in place until I could get enough screws to hold it in place. I then took the planks out and trimmed the ends carefully to make the ends perpendicular to the seams (required because of the curve introduced).
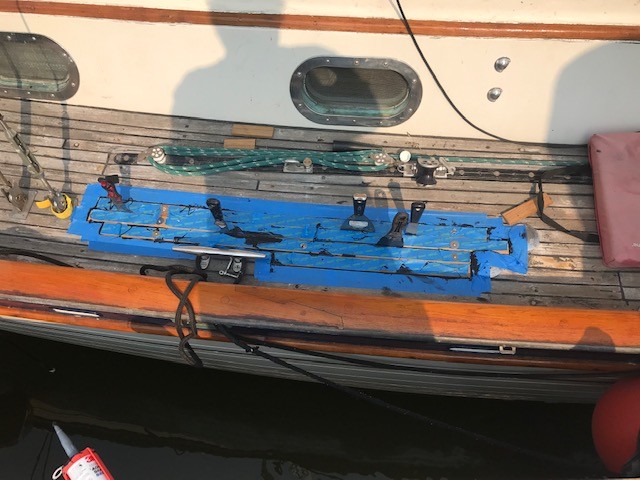
I was now ready to try to put it all together. My plan was to glue the planks to the deck using 3-M 5200 adhesive, a permanent glue. I was only going to have one shot, there was not going to be an opportunity for a re-work. I taped up as much as possible, laid a think layer of adhesive and forced the planks back in place with the braces I had developed before, screwing the planks in place as I went. As the adhesive seeped up between the seams, the situation became a bit messy, but not uncontrollable. After cleaning up the excess and removing the tape, I let the adhesive cure for a week.
Final steps were to re-drill the screw holes to allow them to be plugged with bungs, do a final planning and sanding on the new planks, put a final application of coating of caulking in the seams between the planks, and glue the bungs into the new screw holes.
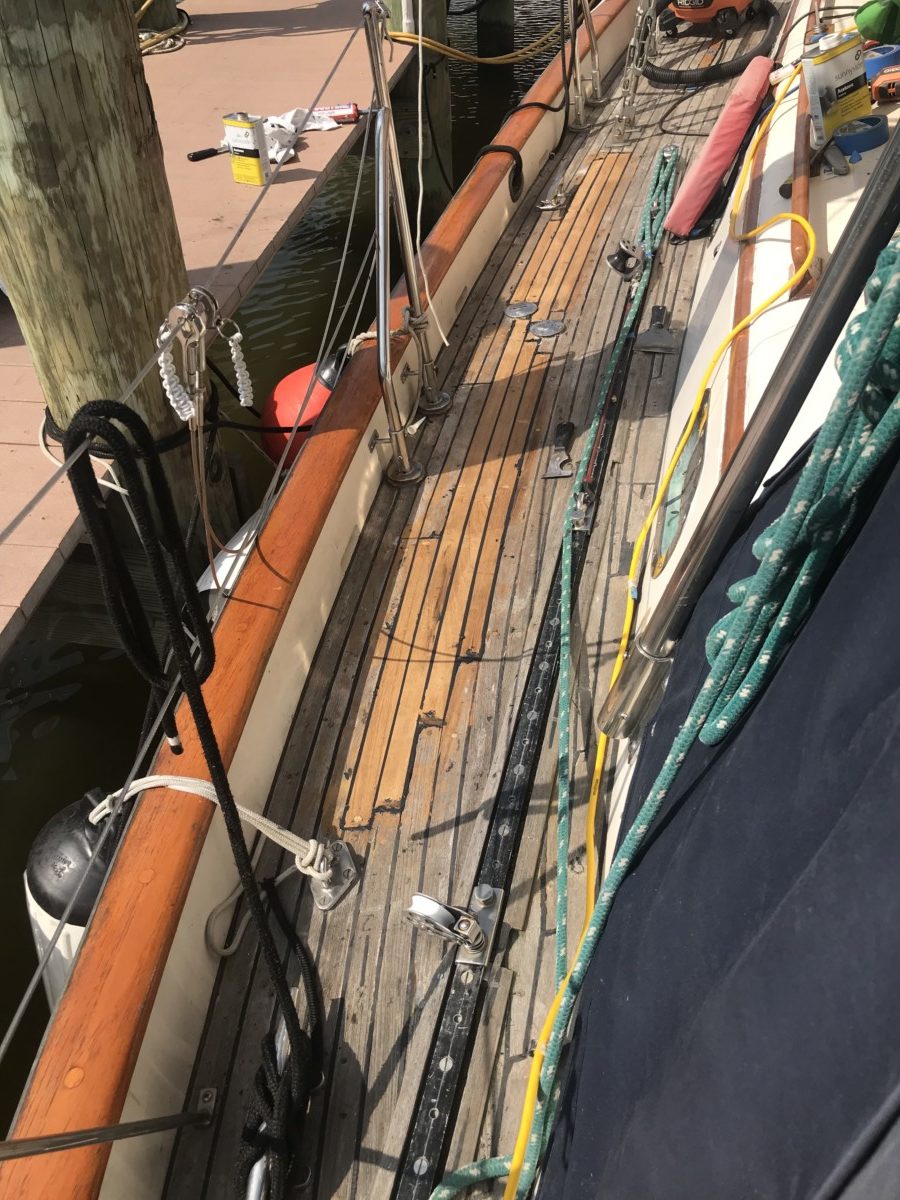
Elena had returned by this point. After she recovered from jet lag, we finished out the maintenance on the deck, recaulking about half of the port side deck.
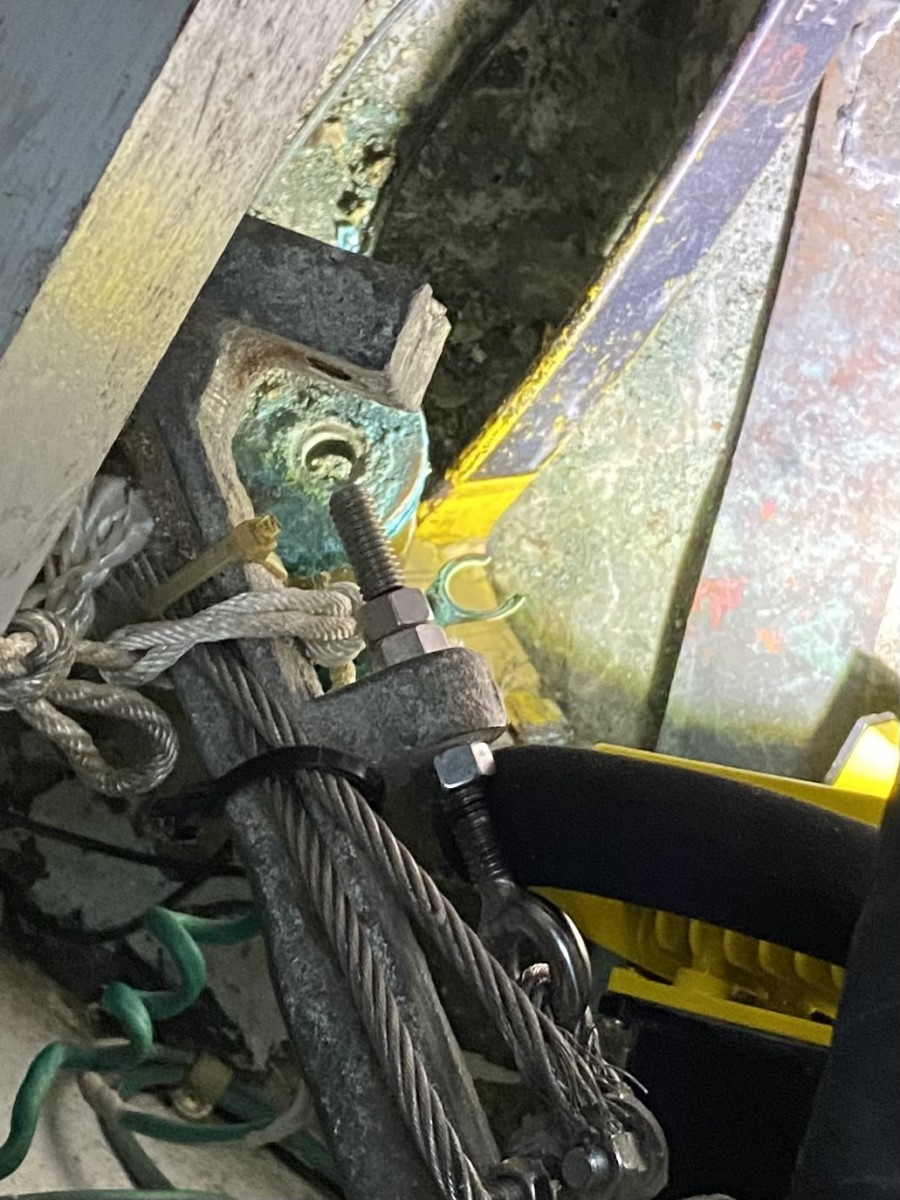
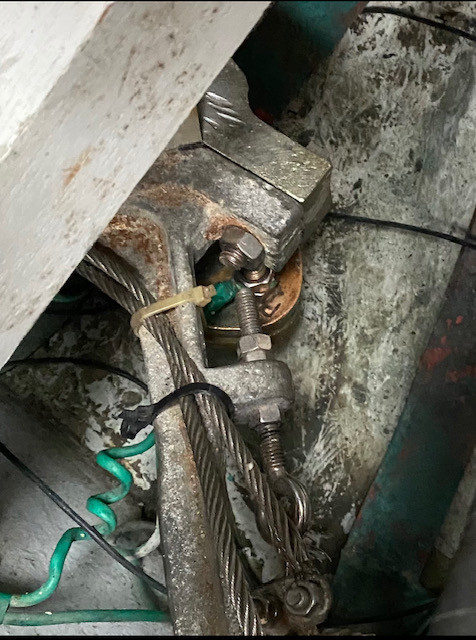
The leak on the rudder post was a bit of a problem. The stuffing box surrounds the rudder post. Within the stuffing box is packing that prevents water to come up the post from outside the boat. The packing was probably as old as the boat—36 years. The problem is that the stuffing box is far down in the very bottom and very back of the boat and difficult to get to. Additionally, our new generator blocked access to the area. Even the skinniest, most flexible female gymnast would have a problem getting to that stuffing box.
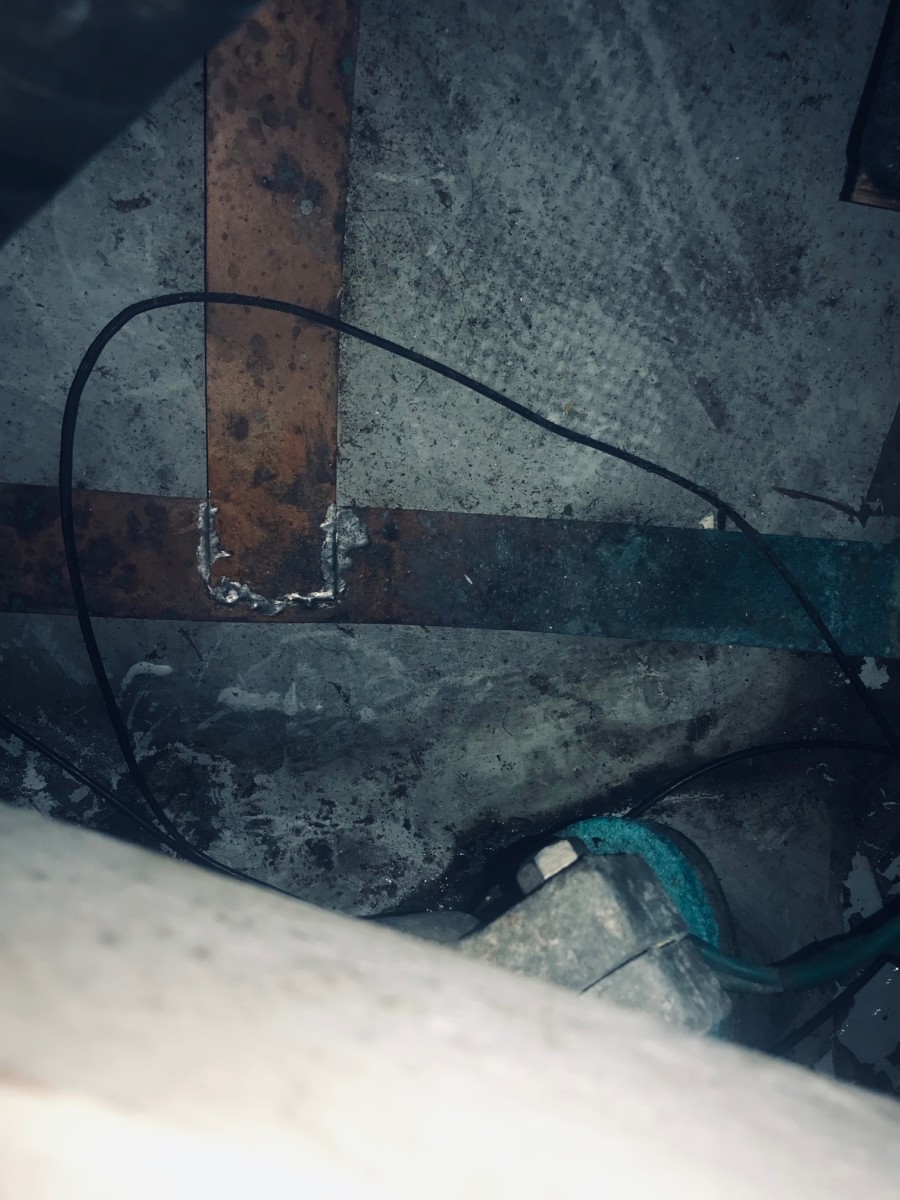
Studying the problem with Buster Phipps of Phipps Boatworks, we concluded our newly installed generator would have to be uninstalled and moved forward to allow access. We scheduled some time with Rob sand Michelle Nixon from Dependable to disconnect the generator and move it. Finally, we were ready to pull the boat out to continue the work.
A second problem was to figure out where we were going to live while the boat was “on the hard”. We are getting a bit old for “camping out” without facilities and without air conditioning, climbing up the 10 feet to get up and down off the boat. We searched around but eventually stayed at an “extended stay” hotel in Annapolis, which worked out just fine.
The sails needed to come down to go on the stands. We took the opportunity to drive to drop the sail off at the local office of the sail loft located in Annapolis,
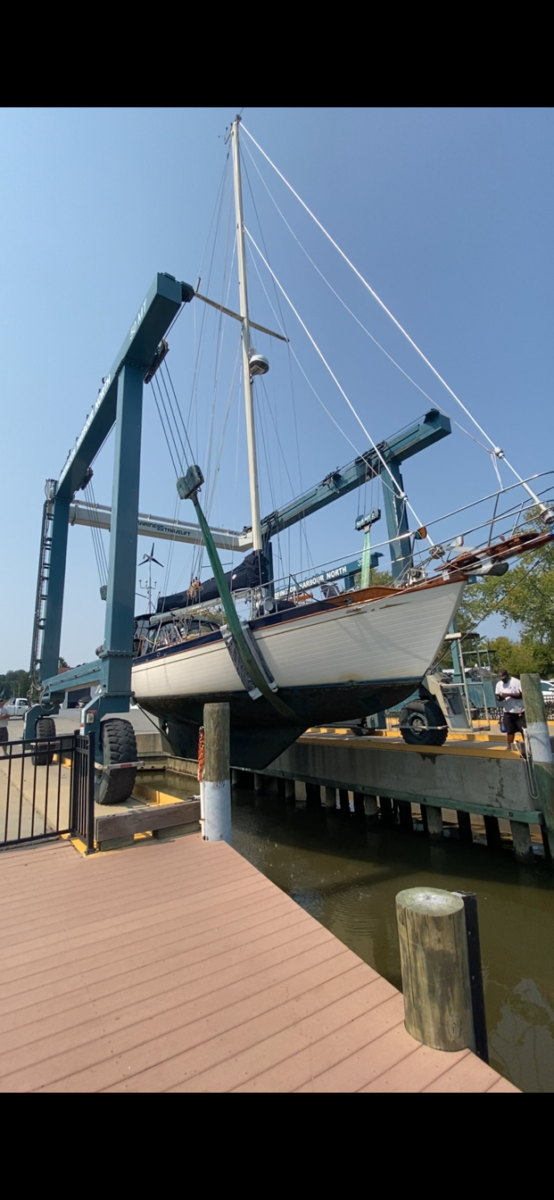
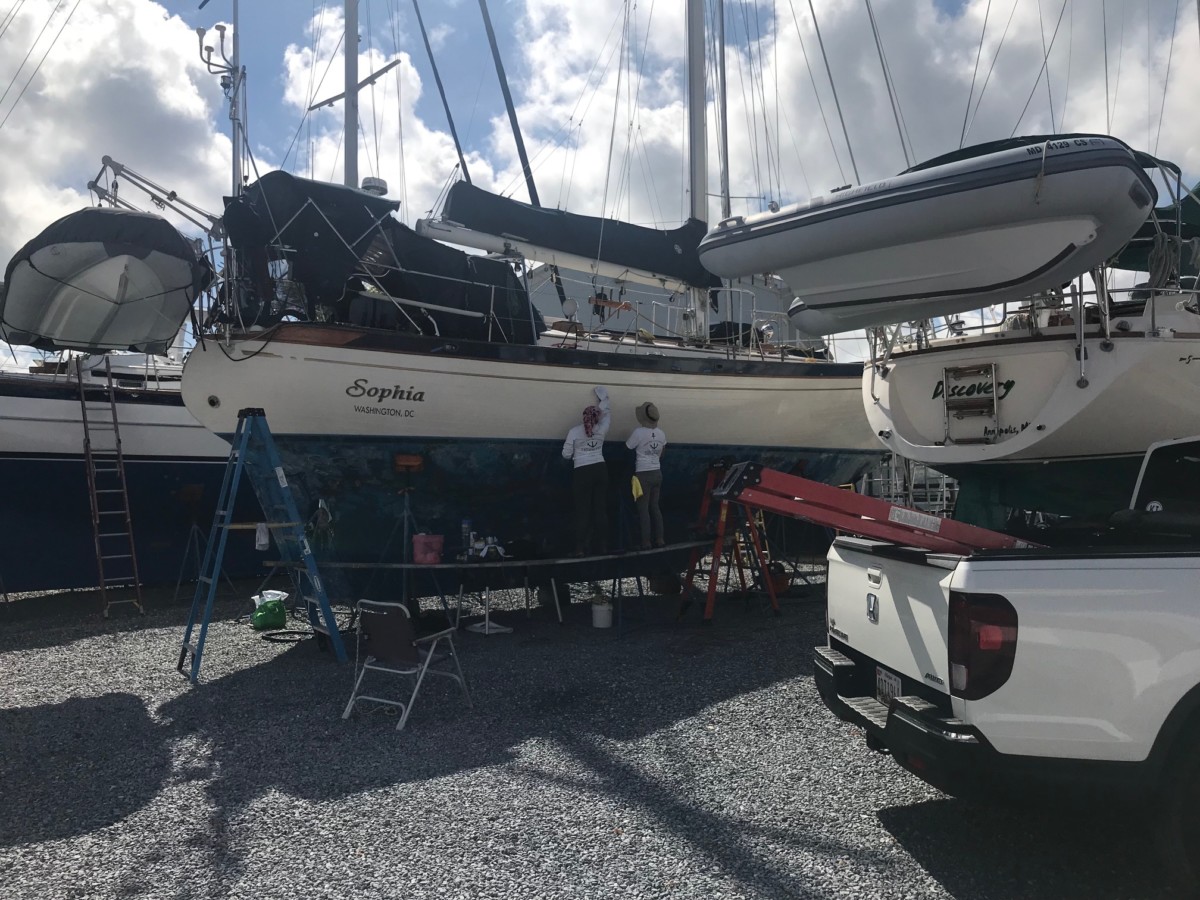
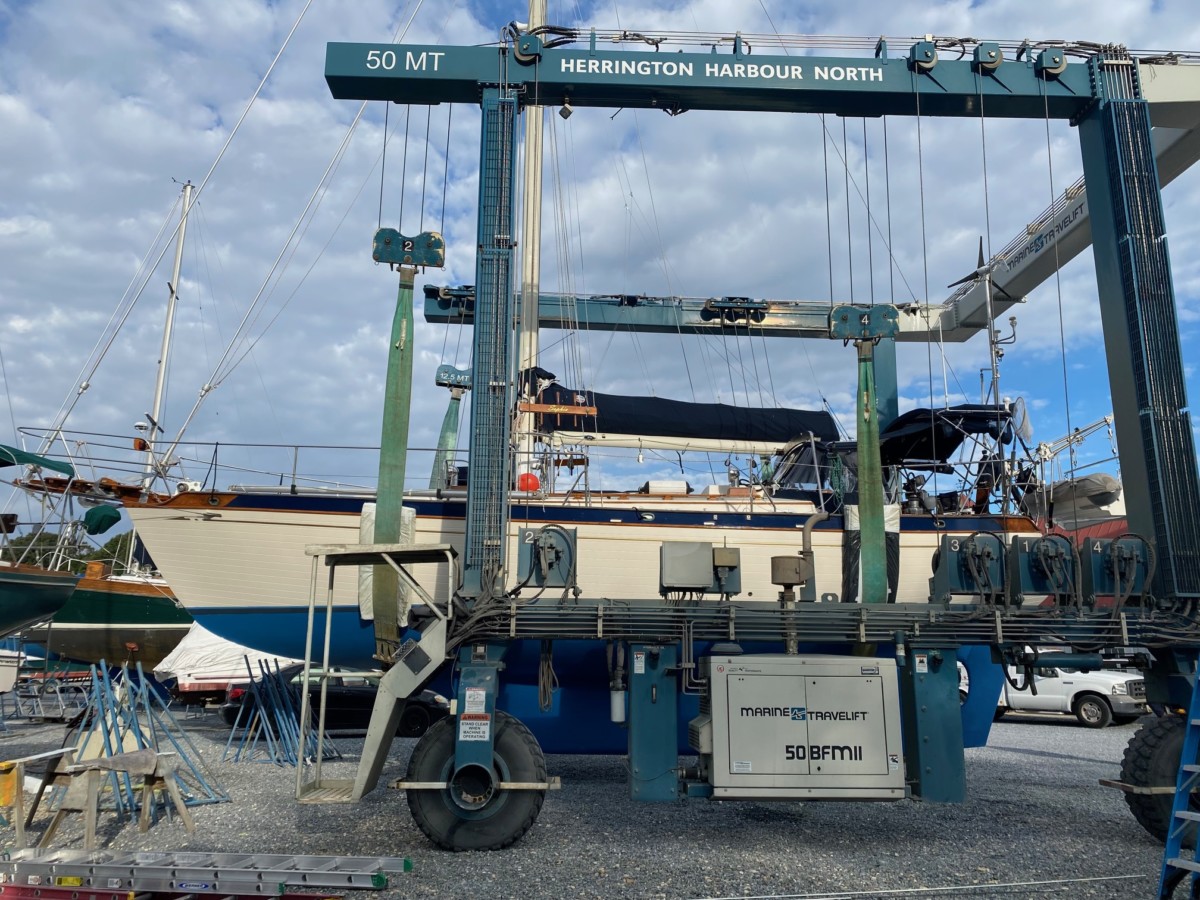
SOPHIA came out of the water on September 13th. I had the yard sand the bottom, something I normally would do but yielded to both the calendar and aging. We immediate began working on varnishing, setting up our scaffolding and ladders. Phipps Boatworks removed the platform and began the prep work for varnishing the bowsprit which they were going to do.

In another compromise with the calendar and age, we hired a couple of ladies (known as “SuperGirls”) for cleaning and waxing the sides. They knocked it out in a day when it would have taken me four days.
Phipps Boatworks quickly replaced the packing in the rudder post and then replaced the through-hull valve for the generator that had become difficult to open and close.
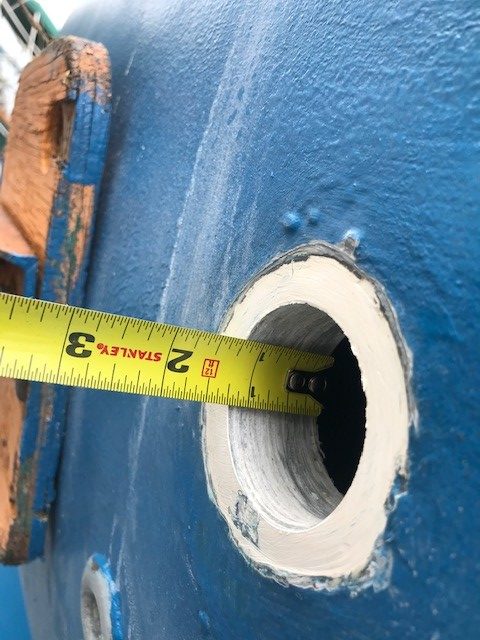
Phipps finished out the varnishing of the bowsprit on Monday September 27th and we were set to launch on Wednesday. We were doing our final checks when I discovered we could not close the galley sink seacock (again, a valve). After having Phipps take a look at it, we determined the valve was original to the boat and was overdue for replacement. Phipps Boatworks stopped what they were doing elsewhere on Tuesday to replace the seacock and overhaul the piping from the sink to the valve that was completely blocked with kitchen gunk.
We were ready for launch on Wednesday, September 28th. The yard showed up at 0830 and removed the stands. We touched up the paint where the stands and the blocks had been. After launching, we checked for leaks. All was well and I drove the boat back to the slip (Elena wanted to take a video from the dock).
The first job now that we were back in the slip was the repair of the Electra/San electrode board. The electrode kills all the bad stuff in the sewage allowing us to pump waste directly overboard legally. It requires salt water roughly equivalent to sea water. We knew we had a problem because we were going through 4 pounds of salt a day. The Electra/San is not easy to get to and the whole unit needed to be disconnected and taken out. What I thought would be an easy one-day job stretched to a two-day effort as we reworked the plumbing connections to make going back in a lot easier (and for the next time we need to do this in about two years). As soon as we started using the new electrodes, we reduced our salt requirements by more that 75%, to less than a pound a day.
Dependable put the generator back together on October 11th. We were finally able to make some changes to shelving in the cockpit lockers and complete the move back onboard from storage.
On October 12, East Coast Rigging fixed our nuisance loose lifelines, making them adjustable. One more thing off the list. On Monday October 18th, we picked up our big genoa sail from the sailmakers where it had been in for routine repairs and maintenance. This was the last of the outside repairs that were on our list. Looking at the weather forecast, we committed to a sail date of Saturday, October 23.
The next day Elena and I made a run to Northern Virginia for a dental appointment and to pick up medications. On Wednesday, October 20th, we made a big food run, stocking up with two weeks of food and supplies and changing the oil in the truck in preparation for long storage. Thursday was final preps, laying out lines etc. Friday was spent on last minutes items such as conducting equipment checks, washing laundry, and filling water tanks.
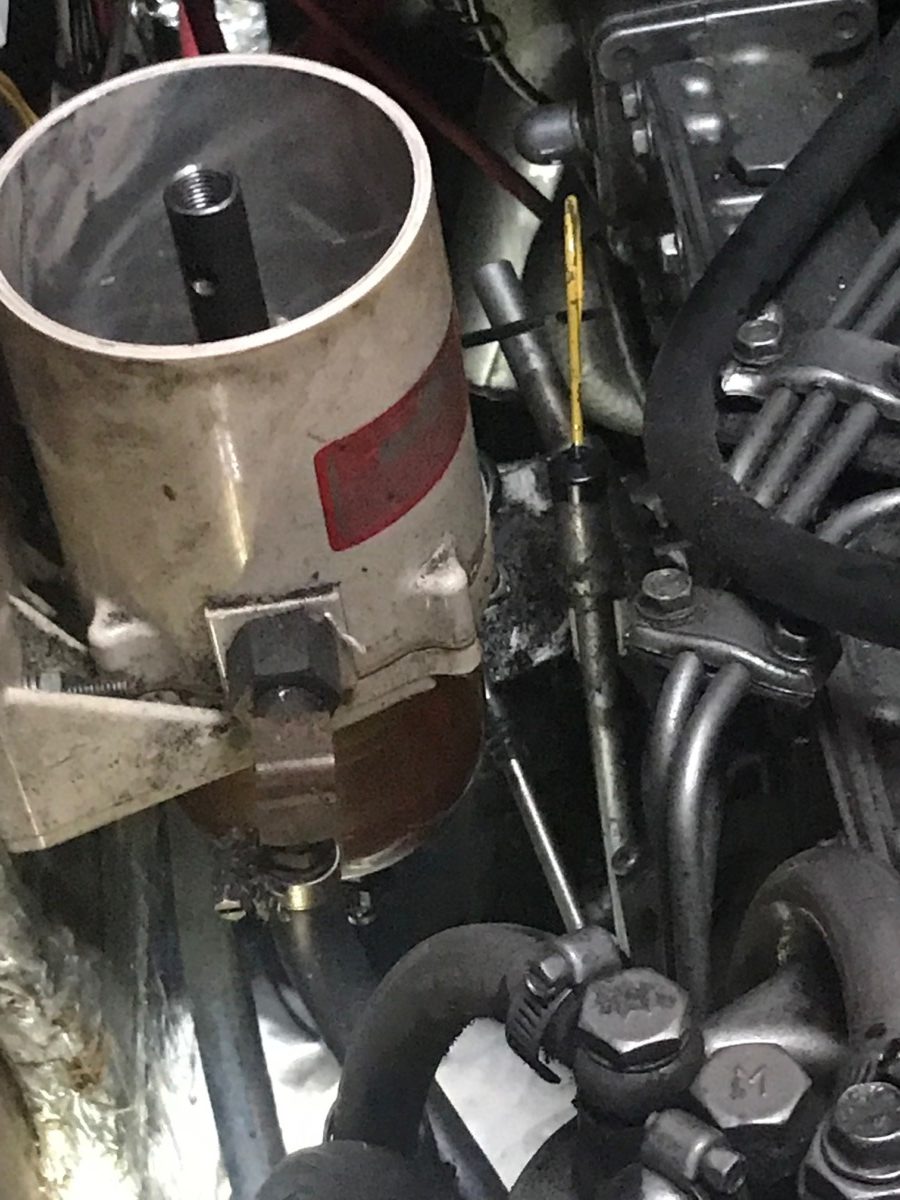
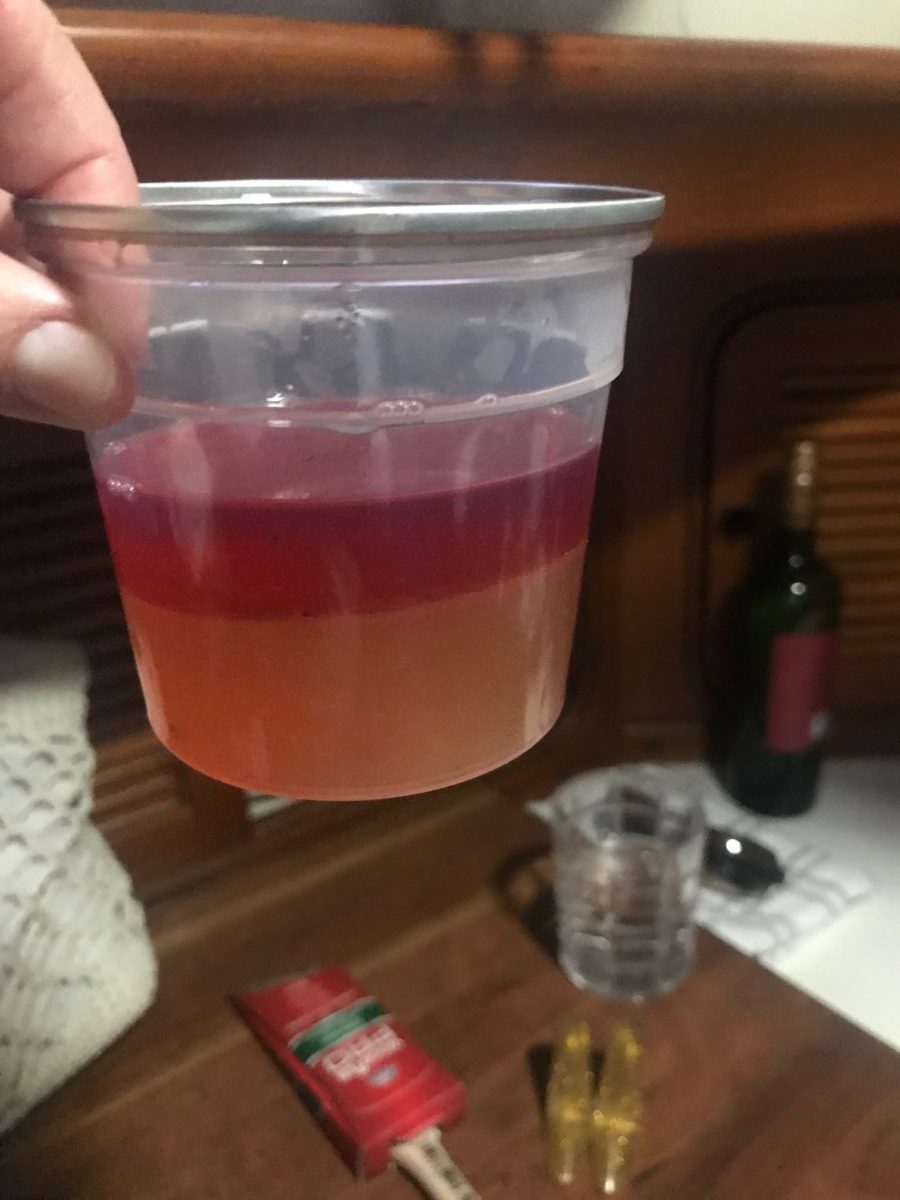
One check was our diesel engine. Elena insisted on checking the fuel filter/water filter. We had seen water in the fuel during our last cruise which stopped the engine. Sure enough there was more than a cup of water which we drained from the filter. We ran the engine for a while and got more water. Finally, we decided to polish the fuel with our fuel transfer system which has an independent filter/water separator.
All of this was being done late in the day. We had invited a number of folks over for a goodbye drink. Cleaning up I splashed diesel all over myself. About this time, as Elena was picking up the last load of laundry, our visitors showed up. I rushed Elena back to the boat. She set out a great spread in record time. We had a couple of rounds of vodka (Elena had three!!). After our guests left, we went back to work. Finally, by 11pm, we had completed everything we could possibly think of.
Up at seven the next morning, we cast lines off at nine and finally headed out into the Chesapeake Bay and our voyage south.
Wonderful! Thanks so much for keeping us on your distribution list. We can’t wait for the next installment!
Virginia & Wes
Really good post. Thanks for the description of projects – very helpful for me and Gray Eagle. Looking forward to more stores of your adventure.