Updated on October 29, 2021
A New Generator, A New Radar, Steering Repairs, and On the Hard – January through June 10, 2020
In March, Elena left for a trip to visit relatives in London and a quick trip to Paris. March 2020—-Pandemic hits! She is in London when Trump decides he is going to put in a travel ban. Fortunately, she was able to change her plans and get back a week earlier than planned. After that, we went into full lockdown.
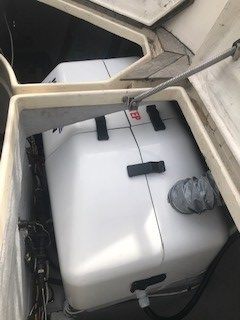
After the fuel tank job was completed in November, the next big job was to replace the 20 year old Panda generator which had cost us about $2400 in repairs over two years and worked for only about 7 hours (an exorbitantly high cost in terms of KW-Hours). But nearly having accident that could have resulted in a catastrophic fire running our little portable Honda generator, I wanted to move away from the gasoline powered generator. (I had left the plastic gas tank in front of the exhaust and a hole was burned clear through before I discovered what I had done.)
We contracted with Rob and Michele Nixon of Dependable Marine to install a NextGen diesel generator. While a bit bigger than the Panda, it runs at a lower RPM (which translates to less stress on the generator engine) and has a good reputation. Rob and Michelle had installed hundreds of these generators and were very efficient in getting it installed including new mounting.
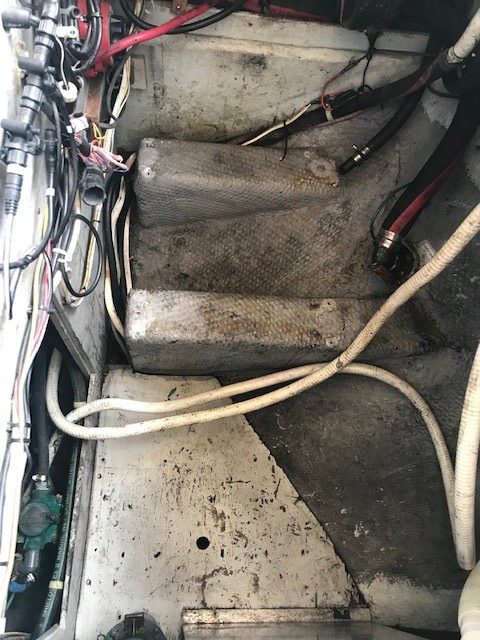
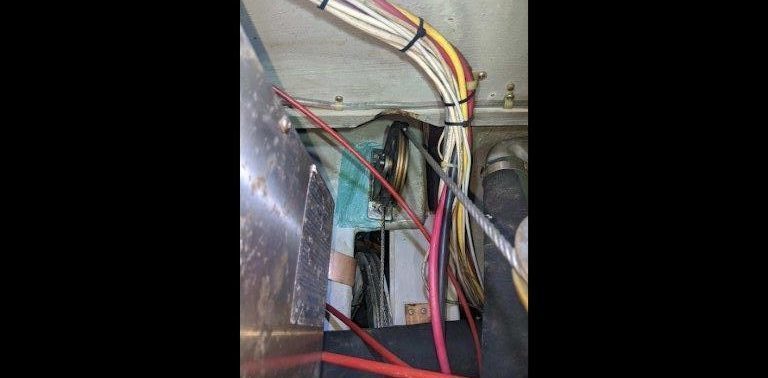
Steering Problem Discovered
While the old generator was out, but before installing the new generator, I asked our rigger (East Coast Marine Rigging) to inspect the steering system. Access to the steering is very difficult and having the open space made the job much easier. It was a fortunate decision. It turned out that the port (and totally inaccessible) turning wheel had separated from the bulkhead and the wire was running at an angle causing wear on the wire rope that connects the wheel and turns the rudder. ECMR, despite being busy with other projects, jumped right on it. It was a good find, and prevented a catastrophic failure at the worst possible time.
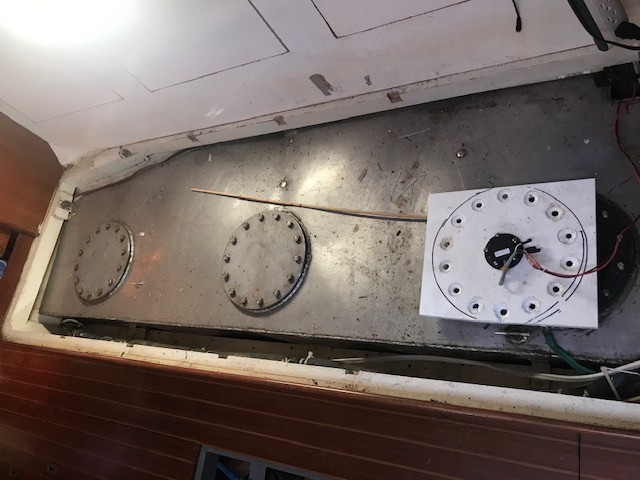
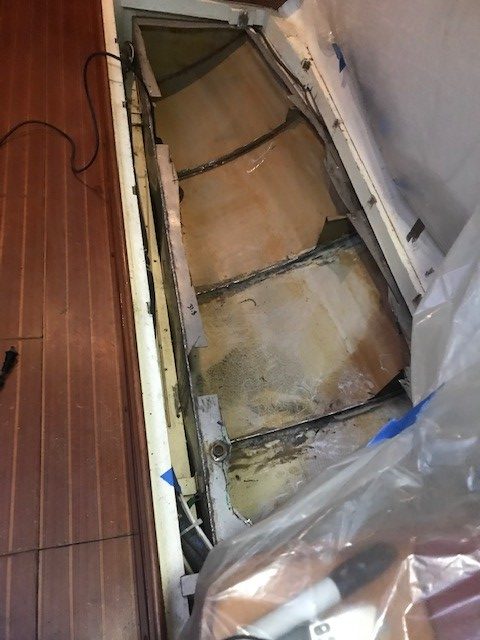
Starboard Water Tank
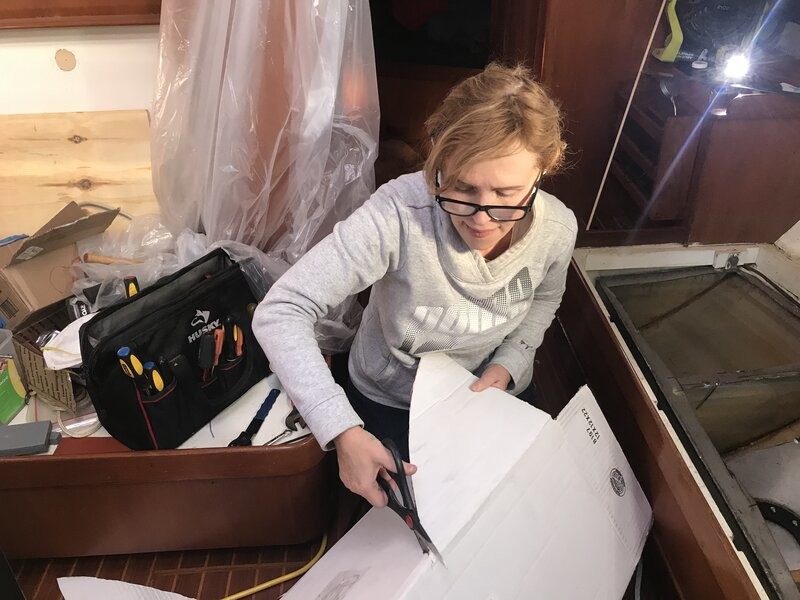
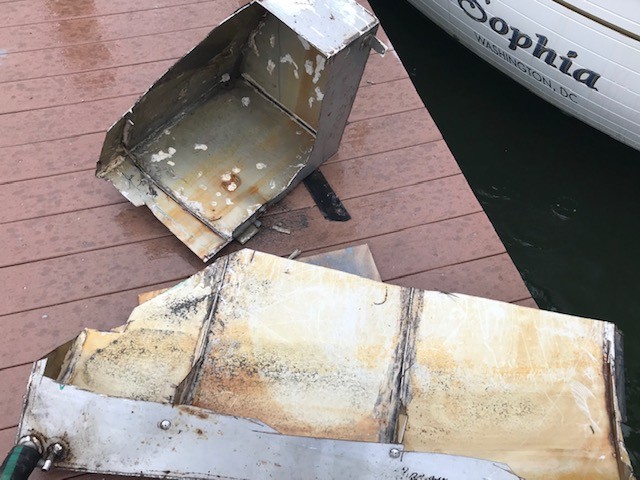
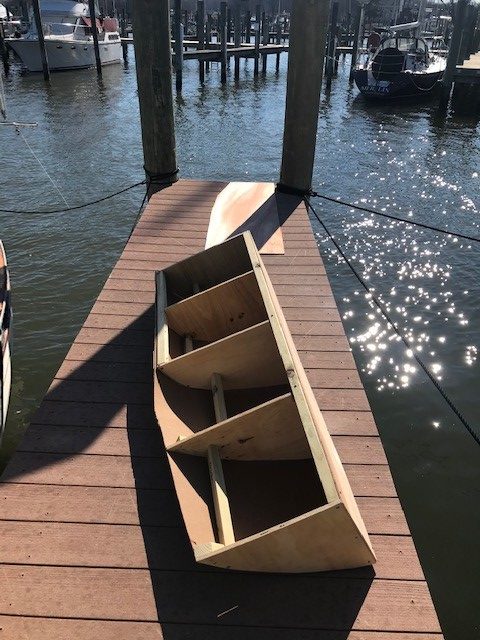
We knew we also had a leak in the starboard potable water tank. We had tried to isolate it, but we never figured out the exact spot. We assumed it was along an inaccessible weld seam. Since we had all the equipment available (grinders and saws), we tore out the water tank, which was done over a weekend (a lot easier than the fuel tank). We spent the month of February building a model which had lots of bends and twists. We delivered the model to the local welder in March understanding it would be a while before he was finished.
Cabin Sole
The floorboards in the main cabin—the cabin sole—were showing wear and tear from our cruising time. The removal and installation of the fuel tank and removal of the water tank had not improved things. It was pretty obvious we would not have time to refinish the cabin sole with all other work we needed to do. We had to give in and ask Phipps Boatworks to do this work. They did a beautiful job, completing the work in March.
New Radar
We also had the electronics guys install a new radar, replacing the one that had been non-operational for over three years. We seldom use the radar, but it was nice to have it as a backup to the Automatic Identification System (AIS) that all large ships and many yachts carry reporting their position to our GPS chartplotter. In addition, we installed a loud hailer for fog signals in anticipation of a trip to New England next summer.
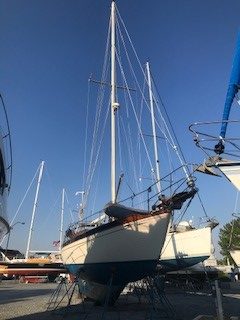
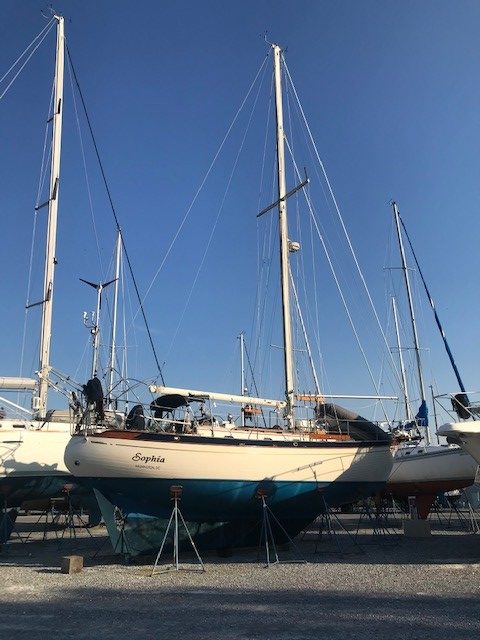
On The Hard
SOPHIA was hauled out and placed ashore in late April for a prolonged maintenance period with a long list of items that needed to be addressed:
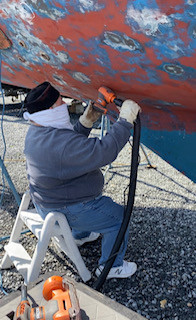
- The bottom had to be sanded and painted. We discovered about 30 blisters and other imperfections which had to be repaired with epoxy and coated with a couple of coats of barrier coat. We painted the bottom with two coats of Micron Extra bottom paint to protect from the growth of marine critters.
The video version is here:
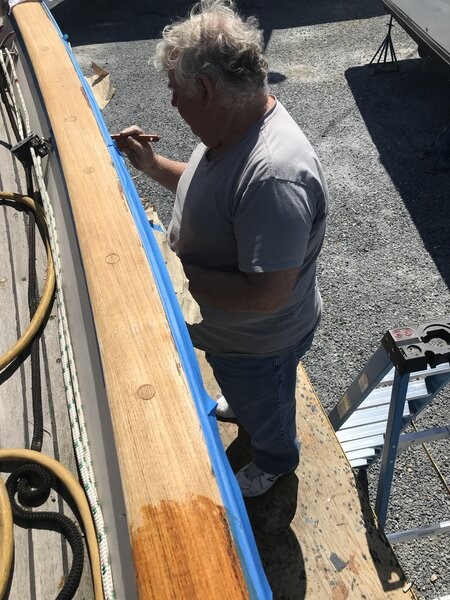
2. The teak cap rail, the scrollwork areas, and the rub rail had to be stripped to bare wood, sanded smooth, and varnished with six coats of Cetol (a synthetic varnish). This was the big, time consuming job. Stripping and sanding took us a month from early April to early May. Putting the six coats took us the rest of May to complete. While I did most of the prep work. Elena did almost all the varnishing work.
3. The bowsprit needed major maintenance. Unlike the rest of the boat it is covered in real varnish. The anchor platform which sits on top needed to be removed and refreshed with CETOL. We spent two days removing the bow pulpit and pounding the three bolts that hold the platform in place out of the bowsprit. Elena and I took down the platform which weights about 70 pounds. The bowsprit was going to need six or more coats of varnish, and it was going to be difficult of us to be down at the marina day after day to do that work. In addition, I decided I did not want to bring that platform back up alone. Again, we asked Phipps Boatworks to help us out. Elena refurbished the anchor platform.
4. We also replaced the anchor chain and rode. The old chain had lost its galvanized sheathing and had corroded badly, making it suspect. In addition, the old rode (the nylon rope attached to the chain) was a ¾ inch nylon line that had become stiff and occupied a lot of space in the chain locker. We replaced the 180 feet of 5/16 G4 (or high test) chain with 203 feet of the same high test chain (Why 203 feet? Because that was what was available and I bought whatever was left in the barrel). There was a real safety hazard with the thimble and shackle on the old rode that would not go through the chain hawse pipe out of or into the chain locker. The new rode is 200 feet of 5/8 of nylon 8 plait line with an additional 15 feet of 5/16 chain. I connected with two chains with a connecting link. The new rode took about half the space of the old. There is no thimble to get stuck allowing the rode to be fed out efficiently. The anchor chain was painted every 20 feet with standard markings. The standard marking we use is a series of color-coded painted links. The series of color is red, white, and blue. The number of links painted in each of the three sections is equal to the number of feet divided by 10 (2 links red, 2 links white, 2 links red for 20 feet). In addition, every 30 feet has a tag to mark that point on the chain.
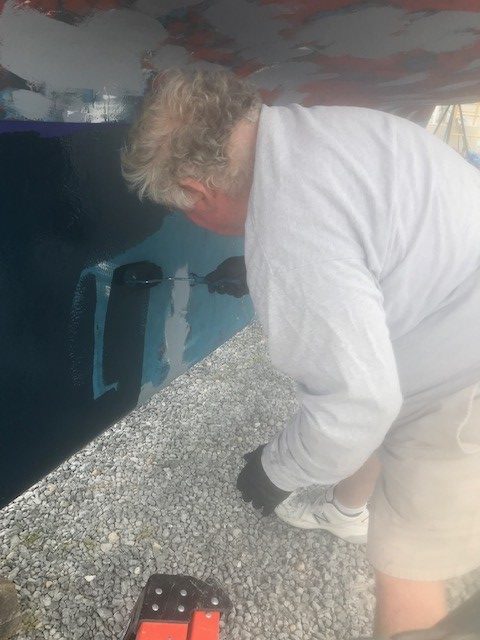
5. The waterline is two lines of different colors, one a dark blue line and one a light blue line. When we are onboard, the lower dark blue line is actually in the water and becomes fouled quickly. I had previously chosen to paint it with bottom paint, which was the next step after painting the bottom. The light blue line, about an inch wide, was badly faded. We painted that line with Interlux Brightside polyester paint, one part white, one part dark blue.
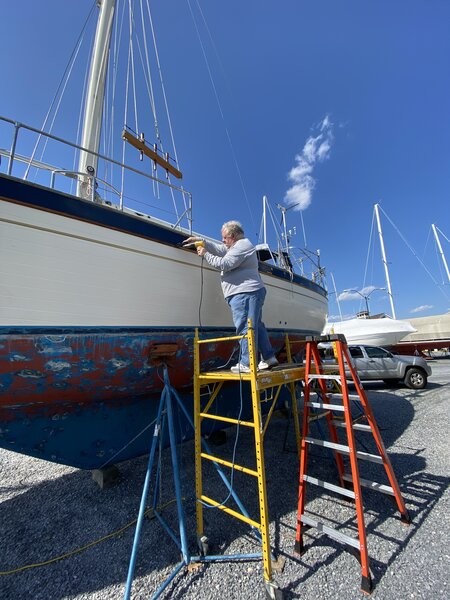
6. There is a blue area below the cap rail and above the rub rail. We had previously painted this area with Brightside. We refreshed the paint with two coats of Brightside dark blue. Elena spent a lot of time on the scaffolding finishing out this job. She just would not give up until she was satisfied with her work.
7. And of course, the hull had to be waxed and buffed (my job).
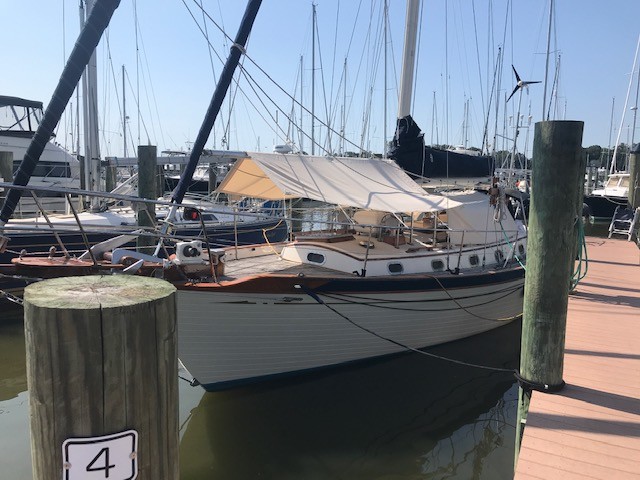
Finally, with all the required work done, we launched Sophia on June 10th and moved her back to her slip.